
Introduction
Keeping carpets fresh in Tampa, Florida takes more than a quick vacuum. Our warm, humid climate, frequent summer storms, and sandy soils tracked in from beaches can push fibers to their limits. Whether you are a first-time homeowner or a seasoned DIYer, understanding a complete at-home process can extend the life, color, and softness of your flooring. If you plan ahead, use the right tools, and follow drying best practices for humidity, you can achieve impressive results and a healthier indoor environment. For residents who want a strong foundation before choosing advanced tools, this guide walks step-by-step through a thorough routine for effective carpet cleaning in Tampa’s unique conditions.
This tutorial covers preparation, stain and odor control, deep-cleaning techniques, and moisture management. You will learn how to handle common Florida issues like mildew prevention, sand abrasion, pet odor management, and post-storm cleanup. By the end, you will have a repeatable plan you can adapt to the season, your carpet fiber type, and your household’s daily activities.
Know Your Carpet and Local Conditions
Before lifting a vacuum, consider fiber type and backing. Polyester resists staining but can matt; nylon is durable and responds well to heat and agitation; wool is luxurious but more delicate and needs pH-conscious chemistry. Tampa’s humidity means moisture control is paramount, especially for dense or high-pile carpets that hold water. The goal is to clean deeply while minimizing over-wetting and ensuring fast, complete drying.
Local conditions to remember include sea breeze salt residues, sand particles that abrade fibers, pollen spikes in spring, and heavy rain during hurricane season. Each of these can affect how frequently you should vacuum and deep clean. For most households, plan to vacuum several times per week and schedule deep cleaning every three to six months, adjusting for pets, kids, and traffic levels.
Tools and Supplies Checklist
- Vacuum with strong suction, adjustable height, and a motorized brush head
- Crevice and upholstery tools for edges, stairs, and furniture bases
- Microfiber cloths and white cotton towels for blotting and tests
- pH-neutral carpet detergent rated for your fiber
- Enzyme-based spot remover for organic stains (pet accidents, food)
- Oxidizer spotter for stubborn discoloration (use carefully and test first)
- Defoamer (if using a hot water extractor)
- Rinse agent or plain water for rebalancing pH
- Bucket, measuring cup, and spray bottles for mixing
- Soft-bristle brush or carpet grooming rake
- Fans, air movers, or a dehumidifier for accelerated drying
- Gloves and eye protection for safety
Step 1: Clear and Protect
Move light furniture, lamps, and decor. Use plastic tabs or foil under furniture legs that remain in the room to prevent wood dyes or rust from transferring to damp carpet. Open interior doors and blinds to encourage airflow. If possible, reduce the thermostat a few degrees and set your HVAC fan to run for circulation during and after cleaning. In Tampa’s humidity, airflow and dehumidification are your best friends.
Step 2: Dry Soil Removal
Thorough vacuuming is the foundation of any successful clean. Make at least two slow passes in perpendicular directions in high-traffic areas. Use a crevice tool along baseboards and under radiators, and detail around air vents where dust collects. Dry soil like sand is highly abrasive; removing it before any wet process prevents micro-scratching that dulls fibers and grinds in dirt when moisture is added.
Step 3: Pre-Inspection and Testing
Identify spots and traffic lanes. Test any chemical on an inconspicuous area. Blot with a white cloth to watch for dye transfer. If carpet is solution-dyed (common with some nylons), it will be more colorfast. Wool requires neutral or slightly acidic products and cooler water. Note odors or pet accident zones using your nose and a UV flashlight if available.
Step 4: Spot and Stain Treatment
Treat spots before general cleaning. Blot liquid spills—never scrub—with towels from the outside inward. For organic stains, apply an enzyme cleaner and allow proper dwell time as indicated on the label. For colored beverage stains or mild discoloration, an oxidizer spotter can help, but use sparingly and test first. Work with gentle agitation using a soft brush and blot again. Rinse with a small amount of clean water and blot dry to prevent residue rings.
Step 5: Preconditioning (Traffic Lane Cleaner)
Apply a diluted pre-spray to high-use zones such as entryways, hallways, and living room paths. Lightly brush the solution to distribute it and loosen bonded soils. Respect recommended dwell times but avoid letting the carpet dry out. The preconditioning step reduces the need for harsh scrubbing later and helps minimize total moisture used—a key for Tampa homes.
Step 6: Choose a Deep-Cleaning Method
Select one of the following approaches based on your equipment, fiber type, and soil level.
- Hot Water Extraction (HWE): The most common deep clean, often done with a rental machine. Use warm water and a compatible detergent. Avoid over-wetting by making slow forward passes to apply and slower backward passes to extract. Add defoamer if you previously used high-foaming products.
- Low-Moisture Encapsulation: Works well for maintenance cleans. Apply the encapsulation solution, agitate with a brush, allow to dry, then vacuum the crystallized soil. This option shines in humid areas because it uses far less water and dries quickly.
- Absorbent Compound: Sprinkle the compound, brush into the fibers, let it absorb soils, and vacuum thoroughly. Good for quick refreshes but less effective on heavy contamination.
Step 7: Rinse and pH Balance
If you performed HWE, a clear water rinse or a mild acidic rinse helps remove detergent residue and return fibers to a neutral feel. Residue attracts soil; a proper rinse keeps carpets feeling soft and reduces re-soiling. Keep your strokes methodical and overlap slightly to prevent streaks or waterlines.
Step 8: Grooming and Pile Setting
Use a carpet rake or soft brush to lift and align fibers, especially on plush styles. Grooming speeds surface drying, reduces visual wand marks, and improves the overall look of the clean. This is a small step with big visual payoff.
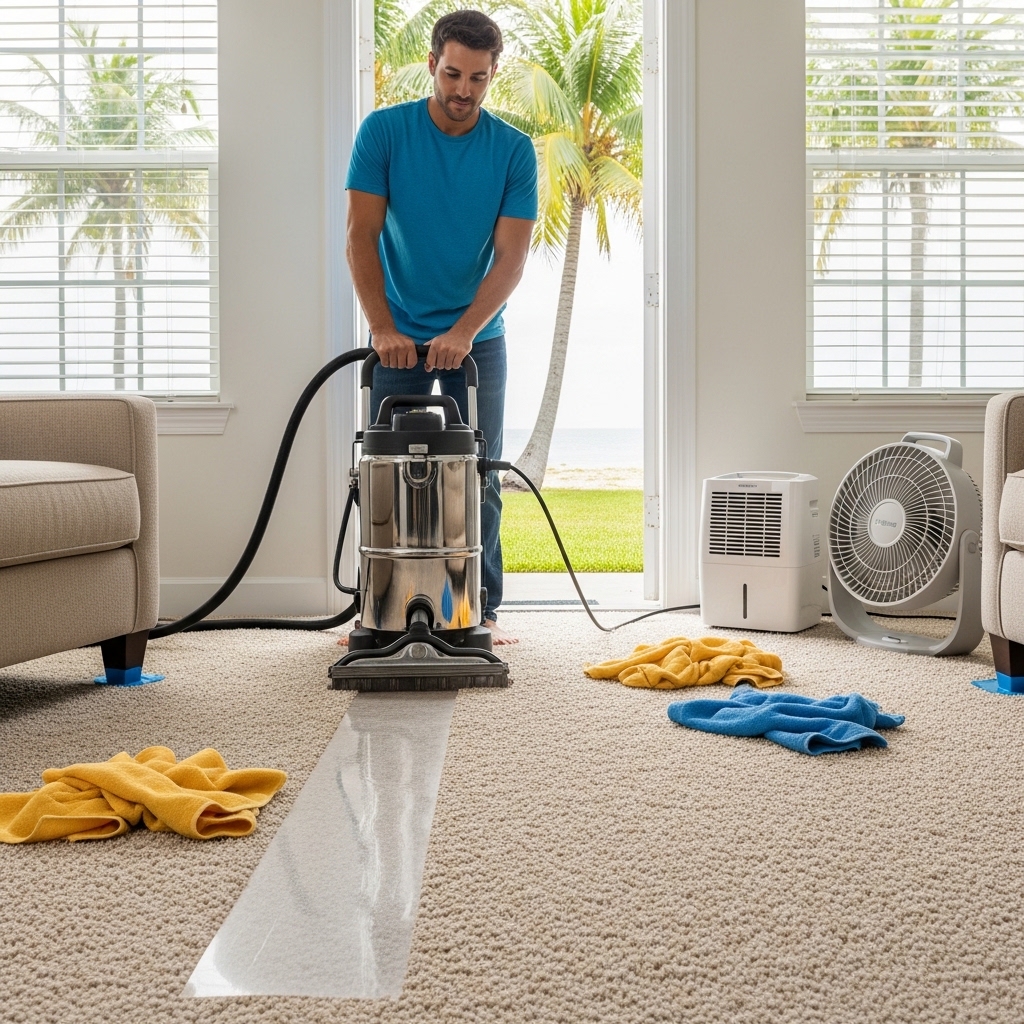
Step 9: Drying in Tampa’s Humidity
Drying rapidly is crucial to avoid musty odors and prevent microbial growth. Position fans to create a circular airflow pattern. Run your HVAC and, if available, a dehumidifier to bring indoor humidity into a comfortable range. Keep foot traffic minimal until the carpet is dry to the touch. If a room still feels humid after several hours, rotate fans, crack interior doors, and continue dehumidification.
Step 10: Odor Control and Pet Considerations
For pet odors, target the pad and subfloor as well as the carpet face when possible. In minor cases, a thorough enzyme treatment followed by extraction can neutralize odors. For recurring pet accidents, consider a blacklight inspection routine and treat areas more than once, allowing proper dwell and dry times. Avoid heavy fragrance cover-ups; they do not solve odor sources and can bother sensitive occupants.
Common Mistakes to Avoid
- Over-wetting fibers, especially in dense or loop piles
- Skipping the rinse, leaving sticky residue that attracts soil
- Using high-pH cleaner on wool or delicate fibers
- Not testing spotters first for dye safety
- Rushing drying, leading to musty smells in high humidity
- Scrubbing stains aggressively, which can distort pile
Tampa-Specific Maintenance Rhythm
Adopt a seasonal plan. In spring, focus on pollen reduction and allergy relief with frequent vacuuming and a mid-season maintenance clean. In summer, prepare for storms by placing extra entry mats and cleaning sand-prone areas weekly. In fall, address humidity carryover and refresh living spaces after long AC seasons. In winter, handle holiday spills promptly and plan a thorough deep clean to start the new year fresh.
When DIY Is Enough—and When It Is Not
DIY methods can deliver excellent results for light to moderate soil and routine upkeep. However, for severe pet contamination, persistent odors, mold concerns after a leak, or stains that resisted careful spotting efforts, professional equipment and expertise may be necessary. In those cases, consider scheduling professional carpet cleaning as part of your annual plan and use DIY sessions in between to maintain results.
Post-Clean Care
After the carpet is dry, return furniture using protective tabs for another 24 hours. Vacuum again within a day or two to lift any remaining encapsulated soil or grooming marks. If you plan to apply a fiber protector, follow the manufacturer’s instructions and ensure the surface is completely dry first. Keep pets and kids off freshly treated areas until safe.
FAQ: Tampa Carpet Care
Q: How often should I deep clean in Tampa? A: For most households, every three to six months works well, with more frequent maintenance if you have pets, kids, or coastal sand tracking. Heavy-traffic homes may benefit from quarterly low-moisture maintenance plus an annual hot water extraction.
Q: Is hot water safe for all carpets? A: Not always. Wool and some delicate fibers prefer cooler water and gentle chemistry. Always check fiber content and follow manufacturer guidelines.
Q: Can I open windows to speed drying? A: In humid weather, open windows can slow drying by bringing in moisture. Use air conditioning, dehumidifiers, and fans instead to control indoor humidity.
Q: How do I handle sand tracked in from beaches? A: Increase vacuum frequency and use quality entry mats. Consider low-moisture maintenance cleans between deep cleans to minimize abrasion.
Q: What about lingering pet odors? A: Use enzyme treatments with proper dwell, then extract thoroughly. For severe cases that reach the pad or subfloor, professional remediation may be necessary.
Q: Will fragrances fix musty smells? A: Fragrances mask odors temporarily. True odor removal requires removing the source and drying thoroughly.
Q: Can I rent equipment locally and still get good results? A: Yes, with careful technique: thorough vacuuming, measured solution use, slow extraction passes, a proper rinse, and robust drying.
Ready for Cleaner Carpets in Tampa?
If you prefer to spend your weekends enjoying the Bay instead of wrestling with hoses and fans, partner your DIY routine with expert help when needed. For results you can see and freshness you can feel, schedule professional support through trusted local specialists in carpet cleaning and keep your Tampa home looking its best year-round.