
Keeping tile bright, sanitary, and long-lasting in Tampa, Florida requires more than an occasional swipe with a mop. Between Gulf humidity, sandy grit from our beaches, hard water, and everyday family life, your tile and grout can quickly lose their luster. This comprehensive guide covers everything you need to know—from understanding tile types and soil sources to step-by-step cleaning routines and advanced stain solutions—so your floors, showers, and backsplashes look their best year-round. To get started on the right foot, many homeowners review proven best practices for tile cleaning to establish habits that actually preserve the finish rather than wear it down.
Whether you live in a historic bungalow in Seminole Heights, a townhouse in Channelside, or a family home in New Tampa, you can adapt the guidance below to your space. You will learn the essential differences between grout types, the safest products for common surfaces, and how to tailor your maintenance to Tampa’s climate realities. We will also cover common mistakes to avoid, how to troubleshoot issues like efflorescence or mold, and when it is time to bring in professional help.
Know Your Tile and Grout
Before you pick a product or technique, it helps to identify what you’re cleaning. Ceramic and porcelain are both durable, but porcelain tends to be denser and less porous. Natural stone—such as travertine, marble, slate, or granite—looks luxurious but can be sensitive to acids and harsh chemicals. If you have natural stone, you must use pH-neutral, stone-safe products and avoid vinegar, citrus, or bleach to prevent etching or discoloration.
Grout matters just as much. Sanded grout is used for wider joints and is more rugged, while unsanded grout suits thinner lines and polished surfaces. Epoxy grout is highly stain-resistant but tricky to install and repair. Knowing your grout type will help you pick the right brush stiffness and cleaning formula, and it influences sealing decisions.
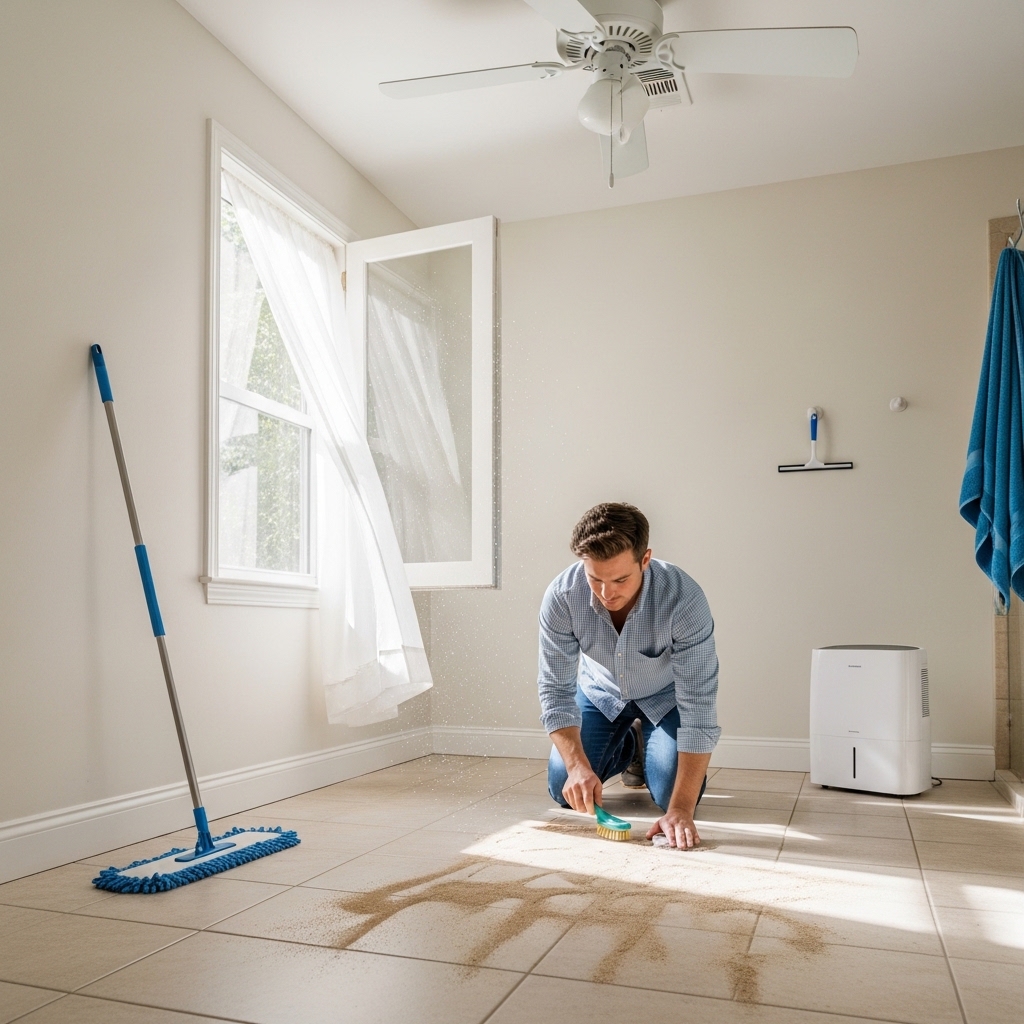
Understand Tampa’s Cleaning Challenges
In Tampa, moisture and warmth create a friendly environment for mildew and mold in bathrooms and showers. Coastal breezes and weekend beach trips mean fine sand often finds its way into entryways and kitchens, acting like sandpaper on glaze and sealers if not removed promptly. Hard water can leave mineral deposits on shower walls and glass. Pollen and dust during certain seasons can settle onto floors and grout lines, dulling their appearance.
All of these factors inform your maintenance plan. Frequent dry soil removal, balanced moisture control, and routine sealing are the pillars of a Tampa-specific strategy.
Tools and Products You’ll Want on Hand
- Vacuum or soft-bristle broom to remove gritty soils before wet cleaning.
- Microfiber dust mop for daily or midweek touch-ups without scattering debris.
- pH-neutral tile cleaner safe for ceramic, porcelain, and sealed surfaces.
- Stone-safe cleaner if you have natural stone; avoid acids and alkalis.
- Soft-to-medium grout brush and a separate soft brush for corners and edges.
- Microfiber mop pads and clean buckets to prevent cross-contamination.
- Squeegee for shower walls and glass to minimize water spots and soap film.
- Air mover or fans for faster drying in humid conditions.
- Quality sealer designed for your surface and grout type.
Daily and Weekly Routines That Work
Daily: Do a quick dry sweep or vacuum high-traffic zones like kitchens, entryways, and mudrooms. Removing grit daily preserves your finish more than any other single habit. In showers, run the exhaust fan during and after use and squeegee walls to limit moisture and mineral buildup. If you see drips or soap splashes, wipe them immediately with a microfiber cloth.
Weekly: Mop with a pH-neutral cleaner. Use two buckets or a dual-chamber system—one for solution, one for rinse water—to keep soils from redistributing. Change the rinse water frequently. Spot-brush grout in areas that catch spills, like around the stove or kitchen sink. Inspect corners and transitions (where tile meets baseboards) for dust bunnies and sand that vacuums sometimes miss.
Monthly and Seasonal Deep Cleaning
Monthly: Focus on grout and texture. Apply cleaner, allow proper dwell time (always follow the label), and agitate with a grout brush. Rinse thoroughly and dry. In showers, remove any detachable fixtures and clean behind them. In kitchens, pull floor mats and clean the space underneath.
Quarterly: Evaluate sealer performance by placing a few drops of water on the tile and grout. If it darkens quickly or the water doesn’t bead, it’s likely time to re-seal. Pay attention to entryways after summer beach days and rainy season foot traffic; sand and moisture can accelerate wear. Midway through your deep cleaning, it’s smart to compare your approach with professional standards for tile cleaning so you can adjust techniques before minor issues grow.
Step-by-Step Deep Floor Cleaning
- Dry Remove: Vacuum edges first, then the center, to capture the bulk of grit.
- Pre-Treat: Apply pH-neutral cleaner to heavy-use zones and stained grout. Let dwell per label directions.
- Agitate: Use a microfiber mop on the tile surface and a grout brush along lines and corners. For textured tile, apply gentle pressure to reach low points without abrading the finish.
- Rinse: Mop with clean, warm water in sections. Refresh water frequently.
- Dry: Use fans to speed drying and reduce spots and streaks, especially in humid months.
- Inspect: Note any recurring stains, cracked grout, or loose tiles that may need repair or sealing.
Showers, Tubs, and Backsplashes
Soap scum, body oils, and minerals are common shower challenges. Use a non-acidic, soap-scum remover compatible with your tile type. Apply, let it dwell, then agitate with a non-scratch pad or soft brush. Rinse thoroughly. Keep a squeegee within reach and make it a household habit to clear water after each use. For backsplashes, immediately wipe splatters of tomato sauce, citrus, and wine to prevent staining or etching, especially on natural stone.
Stain and Odor Troubleshooting
- Grease Spots: Pre-treat with a degreasing, pH-neutral cleaner. Agitate and rinse.
- Hard Water Spots: Use a mineral deposit remover safe for your surface; avoid acids on stone.
- Mildew in Grout: Apply an oxygenated cleaner designed for grout. Ventilate well and rinse thoroughly.
- Organic Stains (coffee, wine): Blot quickly; avoid spreading. Use a targeted stain remover and rinse.
- Musty Odors: Improve ventilation, check for leaks, and dry thoroughly after each clean.
Grout Care and Sealing
Grout is porous and can wick stains. Sealing creates a barrier that slows absorption, making cleanup faster and preventing discoloration. After a deep clean and full dry, apply sealer per directions, ensuring full coverage. Wipe away excess from tile faces to prevent haze. In high-use kitchens and showers, reassess sealing at least annually, and sooner if you see rapid wetting or darkening during routine use.
Protecting Tile Between Cleans
- Use walk-off mats at exterior doors to catch sand before it spreads.
- Felt pads under furniture prevent abrasion during everyday movement.
- Place floor protectors under pet water bowls and plant pots to control moisture.
- Address leaks quickly; standing water is grout’s enemy.
- Keep humidity in check with exhaust fans and dehumidifiers where needed.
Common Mistakes to Avoid
- Skipping dry soil removal—mopping sandy floors grinds grit into the surface.
- Mixing chemicals—this can be hazardous and damage sealers.
- Using vinegar or lemon cleaners on stone—these acids can etch.
- Over-wetting floors in humid weather—slow drying invites mildew and haze.
- Using abrasive pads on glossy or glazed tile—scratches dull the finish.
When to Consider Professional Help
If grout remains dingy after thorough cleaning, if you see efflorescence (a white, powdery mineral deposit), or if mold keeps returning despite ventilation and squeegeeing, it may be time for expert evaluation. Professionals can use specialized equipment, safe chemistry, and hot water extraction to rejuvenate surfaces, and they can repair or re-color grout where needed. They can also test for stone sensitivities and recommend sealing schedules tailored to Tampa’s climate and your home’s traffic patterns.
Frequently Asked Questions
Q: How often should I mop tile floors in Tampa?
A: Aim for weekly mopping in normal-traffic areas and twice weekly in busy kitchens and entryways. Daily dry soil removal makes a big difference.
Q: Do I need a special cleaner for natural stone?
A: Yes. Use a pH-neutral, stone-safe formula and avoid acids and harsh alkalis to prevent etching or color changes.
Q: How can I keep shower grout from mildewing?
A: Ventilate with an exhaust fan, squeegee after use, and deep clean monthly. If stains persist, consider professional treatment and sealing.
Q: What’s the best way to handle beach sand tracked inside?
A: Place mats at entries, vacuum daily during busy seasons, and avoid wet mopping until loose grit is removed.
Q: How do I know if my tile needs sealing?
A: Perform a water drop test. If droplets soak in quickly or surfaces darken, reseal according to the manufacturer’s guidance.
Get Ready for Floors You Love
Refresh your routines with the steps above and keep a simple schedule: daily dry soil removal, weekly mops with neutral cleaner, monthly deep cleaning, and periodic sealing. If you want a head start or need help with embedded soils, consult local tile cleaning experts who understand Tampa’s climate and common tile types. When you are ready to see your tile and grout glow again, schedule a convenient visit and enjoy a home that feels brighter, cleaner, and healthier.