
Deep tile care goes beyond routine mopping to address embedded soils, grout discoloration, soap scum, mineral deposits, and the subtle film that makes floors feel tacky. In Tampa, where humidity, rain, and sandy recreation are part of daily life, these issues escalate faster than many homeowners expect. This guide explores proven methods used by professionals and how to think about the factors that influence overall project scope. While you will not find specific dollar figures here, you will learn what drives the work involved, how to plan a realistic schedule, and how to maintain results once your surfaces are refreshed. Along the way, we will also highlight when pairing your own routine with periodic professional tile cleaning makes the most sense.
“Deep cleaning” means using a deliberate sequence—inspection, dry soil removal, solution application with dwell time, controlled agitation, thorough rinsing and extraction, and finishing steps such as detailing and optional sealing. This approach protects tile and grout while lifting the maximum amount of contamination. The methods you or a technician choose depend on tile type, grout composition, soil load, and room function.
Understanding Tile Types and Their Needs
Ceramic and porcelain are common in Tampa because they handle moisture well. Glazed finishes resist staining on the surface but still collect residue that dulls shine. Unglazed porcelain and textured ceramics capture fine soil in microtexture, calling for more robust agitation during deep cleans. Natural stone—marble, travertine, limestone, slate—adds elegance but requires stone-safe products to avoid etching and loss of clarity. Knowing your surface helps you avoid damage and choose effective chemistry.
Core Methods Used for Deep Cleaning
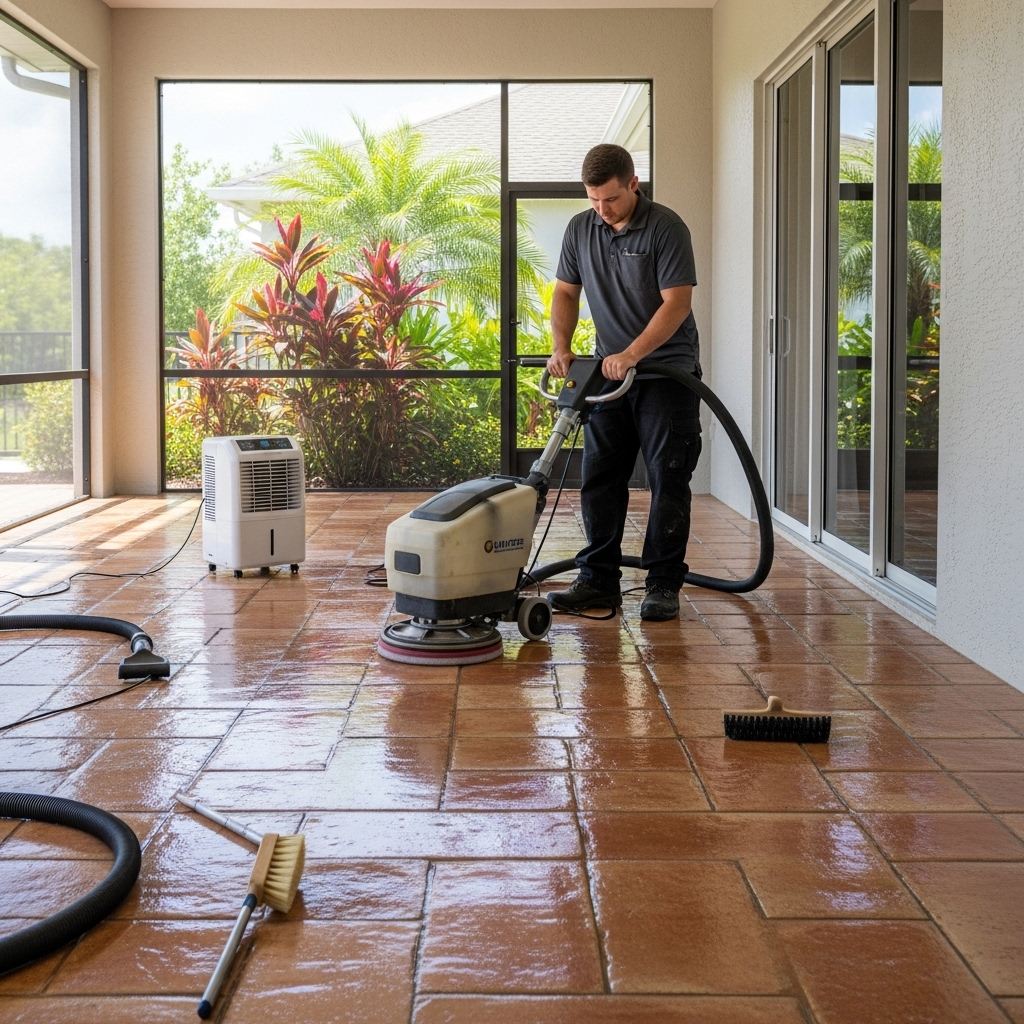
Dry Soil Removal: Before any wet process, remove sand and dust that act as abrasives. Vacuuming with hard-floor tools and edging along baseboards reduces scratching and keeps rinses cleaner.
Pre-Treatment: Apply a solution suited to your soil profile. Neutral cleaners target light film, while alkaline solutions tackle oils in kitchens. For mineral deposits in showers, a carefully chosen acid rinse may be appropriate on compatible surfaces. Always test first, especially on stone.
Agitation: Brushes and machine agitation dislodge soil from grout and microtexture. The right brush stiffness and pad type protect finishes. Detail tools reach corners and along fixtures.
Rinsing and Extraction: Rinse with clean water and extract as much as possible to prevent re-deposition and speed drying. In Tampa’s humidity, effective extraction is crucial to discourage mildew.
Detailing: Towel and hand-tool work along edges, door thresholds, and transitions resolves the last visible residues.
Sealing: For cementitious grout, penetrating sealers help slow future staining and make weekly cleaning easier. Compatibility and dry time matter for optimal performance.
Advanced Techniques for Stubborn Issues
- Encapsulating Cleaners: Useful for light to moderate residues where low moisture is preferred; they crystallize soils for easier removal.
- Hot-Water Extraction: Enclosed tools maintain a safe water profile while flushing stubborn grime from grout lines.
- Oscillating and Cylindrical Machines: These provide uniform agitation across textured tiles without gouging.
- Targeted Acid Rinses: For compatible materials, these break down mineral films in showers and around sinks.
- Color Sealing: When grout discoloration remains after cleaning, color sealing can create uniform appearance and added stain resistance.
Project Scope Drivers
Several factors influence how involved a deep clean will be. Understanding them helps you plan and communicate with a provider.
- Surface Type and Finish: Natural stone generally needs gentler chemistry and more hand work than glazed ceramic.
- Soil Load and History: Long intervals between cleanings or heavy use increase dwell time and agitation needs.
- Texture and Grout Joint Width: Heavily textured tiles and narrow grout lines require detailed tools and more time.
- Room Function: Kitchens collect oils and fine dust; bathrooms add soap scum and minerals; entries bring sand.
- Repairs and Maintenance: Loose tiles, cracked grout, or failing caulk may require attention before or after cleaning.
- Sealing Decisions: Adding grout sealing extends appointments due to drying needs and application time.
Planning a Deep Cleaning Timeline
Start with a walkthrough to identify priorities and any sensitive areas. Decide whether to group rooms by soil type—tackling all baths in one visit, for example—so tools and chemistry stay consistent. In humid months, emphasize airflow for faster drying. Where possible, limit foot traffic on freshly cleaned surfaces until they are fully dry; this preserves uniform appearance.
How Tampa’s Climate Changes the Game
Humidity slows drying and encourages mildew, so extraction and ventilation matter. Sand and outdoor recreation mean frequent dry soil removal to prevent abrasion. Rainy-day entrances see spikes in gritty soils and need mats and quick spot care. If you have a pool, sunscreen and minerals can add films to lanai and bath tiles; plan for occasional focused rinses and careful product selection to prevent slickness.
DIY vs. Professional: Choosing the Right Mix
DIY routines shine at daily maintenance: dry dusting, neutral damp mopping, and spot care. Deep cleaning benefits from professional equipment and experience, especially for stubborn grout discoloration, soap scum buildup, and mineral films. A hybrid plan—routine DIY plus periodic tile cleaning—often yields the best long-term results while keeping your workload manageable.
Sealing Strategy for Long-Term Protection
Penetrating grout sealers reduce stain absorption and simplify weekly care. Apply only after a thorough clean and complete drying. High-traffic paths may need more frequent attention than guest rooms. For stone, confirm compatibility; some stones benefit from enhancing sealers that deepen color, while others look best with natural-finish products. The key is to avoid sealing over residue or moisture.
Safety and Indoor Air Quality
Choose low-odor, low-VOC options when available, and ventilate during and after deep cleaning. Keep pets and children away from wet surfaces. Never mix chemicals—bleach and acids are especially dangerous together. Label spray bottles clearly, store products securely, and wear gloves and eye protection as appropriate. Safe practices protect both your results and your household.
Common Pitfalls and How to Avoid Them
- Overusing Cleaner: Residue attracts soil and makes floors sticky.
- Skipping Dry Vacuuming: Grit scratches finishes and turns to mud when mopped.
- Using Abrasives: Aggressive pads can dull or scratch tile and damage grout.
- Over-Wetting: Excess water pushes soil deeper into grout and slows drying.
- Sealing Too Soon: Trapped moisture or residue undermines sealer performance.
Room-by-Room Deep Clean Tips
Kitchen: Pre-treat along cooking lines and under appliances where oils settle. Use microfiber to capture fine grease haze and follow with a neutral rinse to remove film.
Bathroom: Squeegee after showers to prevent soap scum return. Where mineral deposits are present, use a compatible descaler and rinse thoroughly. Check caulk; if it shows persistent discoloration or gaps, plan a replacement.
Entryways: Emphasize dry soil removal and mats. Edge along baseboards where sand accumulates, and clean thresholds that trap grit.
Laundry and Utility Rooms: Detergent drips can leave sticky spots that catch dust. Neutralize, rinse, and dry thoroughly to remove film.
Evaluating Results and Next Steps
After a deep clean, evaluate in daylight and soft evening lighting. Look for uniform grout tone, clarity on tile faces, and a smooth feel underfoot. Mark problem areas for a follow-up pass or consider color sealing if certain stains persist. Establish a maintenance plan that includes routine dry dusting, neutral mopping, ventilation in wet rooms, and periodic inspections for wear or damage.
Factors That Influence Overall Project Scope
While specific dollar amounts are not covered here, scope is a function of time, tools, and expertise. Larger spaces with heavy soil, sensitive stone that needs special care, and optional add-ons like sealing naturally require more careful steps. Clear communication at the outset—photos, a walkthrough, and a list of priorities—ensures the service aligns with your expectations.
Frequently Asked Questions
Q: How often should I schedule deep cleaning in Tampa? A: Frequency depends on foot traffic, pets, room use, and your routine maintenance. Kitchens and bathrooms often need attention more often than guest rooms.
Q: Can deep stains in grout always be removed? A: Many can, but some permanent discolorations may remain. Color sealing is an option to create a uniform look while adding stain resistance.
Q: Is hot-water extraction safe for my tile? A: When performed with the right tools and technique, it is safe and effective. Technicians adjust pressure and temperature to protect the installation.
Q: Do I need to seal after every deep clean? A: Not necessarily. Sealing is recommended for most cementitious grouts after they are thoroughly clean and dry. Epoxy grouts are more stain resistant and may not need sealing.
Q: What about natural stone? A: Use stone-safe chemistry and avoid acids on sensitive surfaces. Test in hidden areas or consult a professional for tailored guidance.
Q: How can I keep results longer? A: Dry dust regularly, use neutral cleaners sparingly, rinse well, and ventilate bathrooms. Entry mats and quick spot care prevent grit and spills from building up.
Q: Are DIY steamers a good idea? A: They can help in limited applications, but overheating or use on sensitive stone can cause issues. Professional tools manage moisture and temperature more precisely.
Q: How do I know if residue is the problem? A: If floors feel tacky or dull quickly after cleaning, reduce cleaner dosage, rinse thoroughly, and dry with microfiber for a streak-free finish.
From Plan to Polished
Tampa homeowners can achieve impressive, lasting results by combining smart daily habits with scheduled deep care. Start with inspection, remove dry soils, apply the right solution with adequate dwell time, agitate safely, rinse and extract thoroughly, and finish with detailing and optional sealing. Review results, tune your routine, and set reminders for the next refresh. With a thoughtful approach, your tile will look crisp, grout will stay brighter, and maintenance will feel manageable rather than overwhelming.
Refresh Your Surfaces with Confidence
If your efforts are not delivering the clarity you want, it may be time to bring in specialized tools and techniques. A strategic service visit can reset kitchens, baths, and entryways, making daily care easier and more effective.
Schedule expert tile cleaning that aligns with your home’s needs and Tampa’s climate, and enjoy floors and walls that look renewed season after season.