
When you schedule professional tile care for a Tampa home, you are choosing a faster, safer, and more thorough way to restore grout brightness, remove stubborn residue, and revitalize high-traffic floors and wet areas. Florida’s humidity, beach sand, and active indoor-outdoor living make routine mopping insufficient over time, especially where textured tiles, narrow grout joints, and mineral-rich water complicate cleaning. This guide explains what to expect before, during, and after a professional visit, so you know exactly how to prepare, how the process works, and how to keep results looking beautiful. Early in your planning, it helps to decide which rooms matter most and whether you want a one-time refresh or a recurring schedule with strategic tile cleaning throughout the year.
Professional services bring controlled heat, carefully selected chemistry, and specialized agitation and extraction tools that go beyond household equipment. The goal is to remove embedded soil, film, and bio-load from grout and tile faces while managing moisture carefully to protect your installation. If you have natural stone, delicate mosaics, or newly installed tile, expect a tailored approach that factors in surface sensitivity and manufacturer guidelines.
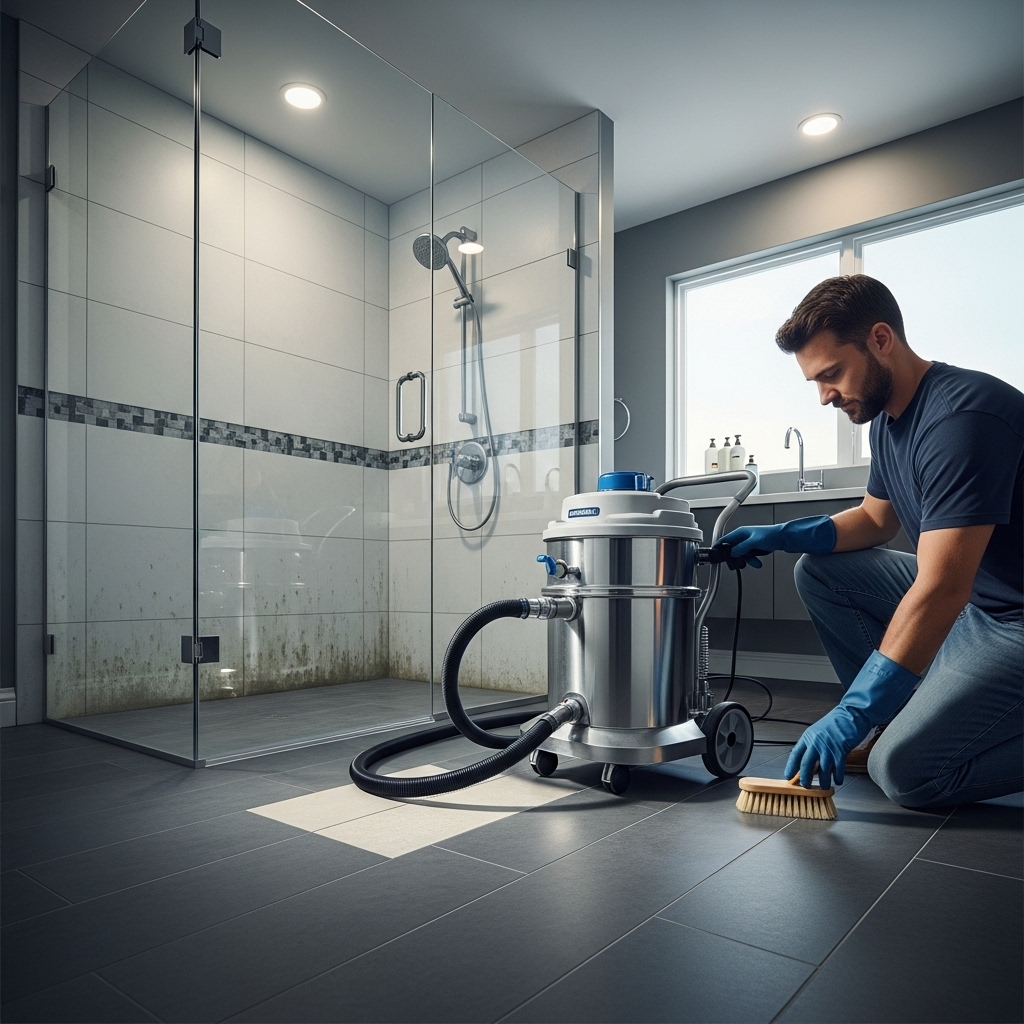
In Tampa, the professional process must also consider climate. Humidity affects drying and mildew risk, sand accelerates abrasion, and frequent showers and pool days drive extra residue onto bath and entryway floors. Knowing these variables allows technicians to calibrate dwell times, rinsing, and airflow for a safe, effective result.
Your Preparation Checklist
- Declutter Floors: Pick up toys, rugs, floor-level décor, and pet bowls to create clear pathways.
- Secure Pets: Provide a stress-free space away from work areas.
- Point Out Concerns: Identify recurring stains, slippery spots, or areas that re-soil quickly.
- Confirm Access: Ensure parking, water supply, and clear routes for hoses or cords.
- Protect Valuables: Move fragile items from surfaces that technicians might need to shift.
You do not have to move heavy furniture in most cases; your provider will explain what to expect. Communication is key—photos of problem areas sent in advance help teams plan chemistry and tools.
Inspection and Testing
On arrival, a technician will walk through your home to confirm tile type, grout condition, prior sealing, and any risk factors such as loose tiles or cracked grout. They may conduct a small test in a discreet corner to verify that the chosen cleaning solution and agitation method are safe and effective. The inspection phase protects surfaces and sets performance expectations, especially important for older grout that has seen many DIY cleanings.
Dry Soil Removal
Effective deep cleaning starts by removing sand and dust that would otherwise turn to muddy slurry. Expect a thorough dry vacuuming with hard-floor settings, edging along baseboards, and special attention to grout lines. This step reduces abrasion and allows cleaning solutions to target actual films and stains rather than loose debris.
Pre-Treatment and Dwell Time
Technicians apply a solution selected for your surface: neutral for routine maintenance builds, alkaline for oily soils, or stone-safe options when etching is a risk. The solution is allowed to dwell so it can emulsify residues and suspend fine dirt from grout pores. Careful timing matters; too little dwell limits effectiveness, while too much risks re-deposition if the solution dries. Professionals monitor this window closely, especially with Tampa’s airflow and temperature fluctuations.
Agitation Techniques
Agitation dislodges soil from microtexture and grout. Tools may include soft- to medium-bristle brushes, orbital or cylindrical machines, or detail brushes for corners. On sensitive materials, technicians choose pads and speeds that protect the finish. The aim is consistent, even agitation to avoid streaking or uneven brightness across tiles and grout lines.
Rinsing and Extraction
After soils are suspended, controlled rinsing removes them without over-wetting the floor. Depending on the space, professionals may use a low-moisture approach, hot-water extraction with enclosed heads, or a combination. Effective extraction is crucial in humid climates; it speeds drying, reduces streaks, and helps prevent a quick return of haze or soap scum.
Detailing and Edges
Edges, corners, and around fixtures gather the most stubborn soils. Expect hand detailing with smaller brushes and towels where machines cannot reach. These finishing passes make a visible difference, especially in bathrooms and kitchens where residues collect behind toilets, under toe-kicks, and around appliances.
Sealing Recommendations
If your grout is cementitious and porous, technicians may recommend sealing after surfaces are fully clean and dry. Penetrating sealers help slow staining and simplify your weekly routine. If you choose to seal, the team will confirm compatibility, drying conditions, and post-care. Not all grout requires sealing—epoxy grout is more stain resistant—but many Tampa homes benefit from added protection due to humidity and frequent wet use.
Drying and Safety
Expect guidance about foot traffic, airflow, and re-entry once surfaces are safe. Fans, open windows (weather permitting), and HVAC circulation help accelerate drying. Professionals will advise whether to avoid certain footwear temporarily and how to prevent re-soiling while finishes settle.
What Can You Expect from Results?
Most homeowners notice brighter grout lines, clearer tile faces, and a smoother feel underfoot. Soap scum in showers becomes easier to manage, and kitchens lose the faint tackiness that traps dust. While deep, old stains may not disappear completely, overall uniformity and cleanliness improve significantly. The team should point out any permanent discolorations and discuss options such as color sealing or targeted repairs where warranted.
How Long Will It Take?
Duration depends on square footage, soil load, tile type, furniture, and whether you add sealing. Bathrooms, kitchens, and entries are usually quicker than sprawling great rooms. Efficient scheduling often groups similar surfaces to streamline setup and extraction across the home.
Post-Clean Maintenance
- Switch to Neutral Cleaners: Prevent residue that makes floors sticky and dull.
- Use Microfiber: Launder pads regularly to avoid cross-contamination.
- Dry Dust Frequently: Control grit to preserve the refreshed look.
- Ventilate Wet Areas: Squeegee showers and run fans to reduce mildew risk.
- Spot Treat Promptly: Address spills as they happen to prevent staining.
With good aftercare, professional results last longer and require fewer interventions. This is especially true in Tampa where entryways see sandy traffic and bathrooms face daily humidity.
Special Considerations for Natural Stone
Marble, travertine, and limestone are beautiful but sensitive to acidic products. Technicians will verify surface type and select stone-safe chemistry. Avoid vinegar and citrus-based DIY cleaners on stone; even mild acids can cause etching. For honed or tumbled finishes, well-chosen sealers and gentle methods help maintain the intended matte or satin look without clouding.
Communication During the Visit
A professional team should check in with you at milestones: after inspection, post-test results, and as they transition from cleaning to rinsing and optional sealing. This dialogue ensures your priorities are met—whether that means focusing on a guest bath before company arrives or spending extra time on a kitchen that sees heavy cooking.
Common Myths, Debunked
- “More cleaner equals better results.” In reality, overuse leaves residue that attracts soil.
- “Abrasive pads fix everything.” They can scratch glazes and leave visible swirl marks.
- “Steam is always safe.” It must be controlled; sensitive surfaces can be damaged by excessive heat.
- “Sealing makes grout maintenance-free.” It helps, but routine cleaning is still necessary.
Mid-Project Adjustments
In some homes, technicians adjust on the fly based on how soils respond. For example, if an alkaline cleaner loosens kitchen grease but leaves a slight film, they may follow with a neutral rinse to remove residues fully. Bathroom mineral buildup may call for a carefully managed acid rinse, but only if the tile is compatible. These refinements separate professional outcomes from DIY efforts.
Why Tampa Homes Benefit from Professionals
Local conditions are unique: salt air, summer storms, and sandy recreation create a perfect storm for gritty soils and films. A scheduled midyear or seasonal service prevents soil layers from becoming stubborn, especially in textured tiles that hide grime. Pairing a routine with periodic tile cleaning keeps bathrooms and kitchens from slipping into a cycle of heavy scrubbing and frustration.
Frequently Asked Questions
Q: Will professional cleaning damage my grout? A: Properly performed services protect grout by using the right chemistry, gentle agitation, and thorough rinsing. The pre-inspection phase identifies any weak spots so technicians can adjust.
Q: Do I need to be home during the service? A: It is helpful for the walkthrough and to discuss priorities, but many homeowners step out during the main work. Coordinate access and preferred communication.
Q: Can you remove all stains? A: Most common soils and residues respond well to professional methods. Some deep or permanent stains may remain, and technicians can recommend color sealing or other restorative options if appropriate.
Q: How soon can I walk on the floor? A: You will receive guidance based on conditions, airflow, and whether sealers were applied. Light, careful traffic is often possible sooner than heavy use.
Q: What about natural stone in showers? A: Stone-safe chemistry and ventilation are critical. Expect additional guidance to manage mineral deposits and soap scum without etching.
Q: Do I need sealing? A: Many cementitious grouts benefit from penetrating sealers. Epoxy grout is more stain resistant and may not require sealing. Your technician will advise after inspection.
Q: How often should I schedule professional care? A: Timing depends on foot traffic, pets, and room function. Bathrooms and kitchens generally need more frequent attention than guest rooms.
Q: What if I have newly installed tile? A: Share installation dates and products used. Some materials need curing time before deep cleaning or sealing.
Confidence for Your Next Appointment
Now that you know what to expect—inspection, test areas, targeted chemistry, careful agitation, thorough extraction, and tailored advice—you can prepare your home and maximize the value of the visit. Clear communication and a brief aftercare routine will keep results shining longer.
Bring Back the Brightness
If your grout is darkening or your tile feels sticky despite mopping, it may be time for a professional reset. You will notice cleaner lines, safer footing, and a fresher feel in the rooms you use most.
Book expert tile cleaning on a schedule that matches your life, and enjoy Tampa living with floors and walls that look and feel renewed.