
Introduction: A Beginner-Friendly Path to Cleaner Upholstery in Tampa
If you’re new to upholstery care, you’re in the right place. Tampa’s lively lifestyle and coastal climate bring sunshine—and challenges—for soft furnishings. Humidity slows drying, beach days add sand and salt, and open windows let pollen drift indoors. This beginner’s guide breaks down the cleaning process into easy, confidence-building steps that protect your fabrics while delivering visible improvements. If at any point you’d like professional help or a deeper refresh, trusted upholstery cleaning is a convenient option.
We’ll cover tools, setup, safe testing, simple spotting techniques, controlled cleaning, fast drying, and maintenance habits. Follow along and you’ll have a repeatable routine that works with Tampa’s climate instead of fighting it.
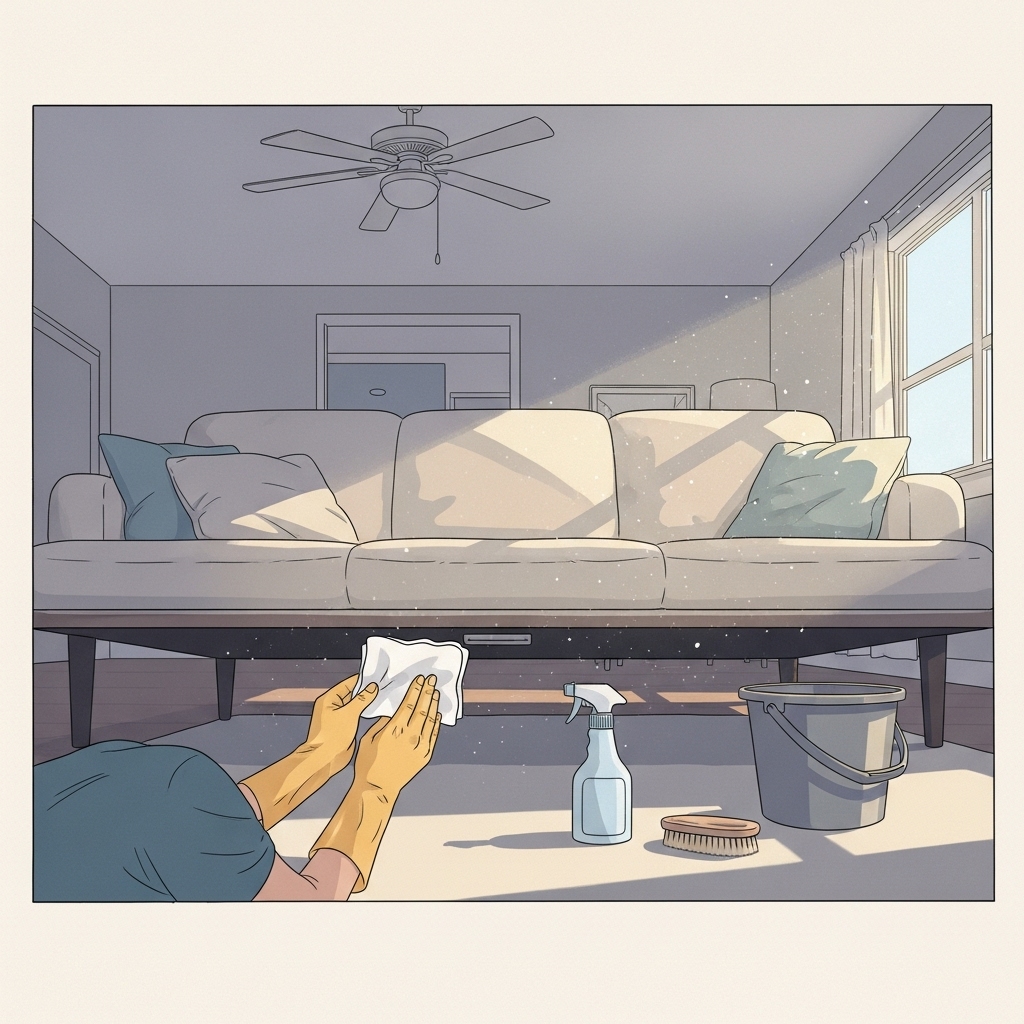
Step 1: Gather Your Tools and Prepare the Space
Set the stage for success by collecting essentials first: a vacuum with upholstery attachments; white microfiber cloths; a soft brush; a spray bottle; a bucket; mild upholstery detergent; and, if needed, an enzyme spotter for organic spills or an approved solvent cleaner for “S” code fabrics. Optional but helpful: a low-moisture extractor and a couple of fans. Clear the area around your furniture, move side tables, and protect nearby floors if you expect drips. Turn on ceiling fans or set up a box fan to improve airflow from the very beginning—drying begins the moment you start.
Step 2: Identify Fabric Type and Care Codes
Locate the care tag. “W” means water-based cleaning is acceptable; “S” means solvent is recommended; “WS/SW” allows either option with caution; “X” calls for vacuuming only. Beginners often assume water is gentle, but on certain fibers it can cause water rings or dye bleed—especially in humid environments. When you’re unsure, test cautiously and keep moisture low. If your piece is valuable or delicate, consider skipping DIY and consulting a professional.
Step 3: Vacuum Thoroughly (Dry Soil Removal)
This step sets the tone for everything else. Use the upholstery tool for broad areas and the crevice tool for seams, buttons, and edges. Move slowly and overlap strokes to lift grit, pet hair, and pollen. In Tampa homes, where patio doors open often, airborne particles settle quickly on fabrics. Thorough vacuuming prevents soil from turning into muddy residue during later steps and extends the life of your furniture by reducing abrasion.
Step 4: Pre-Test Your Cleaner
Mix your cleaner according to directions and apply to a hidden spot the size of a coin. Blot, wait, and inspect for color transfer, fuzzing, or a ring. If the test fails, switch to a gentler approach—less moisture, different chemistry, or a solvent cleaner for “S” code fabrics. Beginners should never skip the pre-test; it’s your safety net.
Step 5: Spot Treatment Made Simple
Work on visible spots before you clean entire panels. For food or pet accidents, apply an enzyme spotter and allow short dwell time, then blot gently. For coffee, tea, or wine, a mild acidic spotter can help—but test first. For oily marks like makeup or body oils on armrests, use a product suitable for your fabric type. Always use white cloths and work from the outside in to contain the spot. Avoid vigorous scrubbing, which can distort the pile.
Step 6: Clean in Small, Controlled Sections
For water-safe fabrics, lightly mist your diluted detergent onto one cushion face or a small back panel. Agitate with a soft brush using small circles. Keep the surface evenly damp—not wet—and immediately remove residues by extracting lightly or wiping with a damp cloth. Treat entire panels edge-to-edge when possible to reduce the chance of water lines. Solvent-only fabrics require minimal product and careful blotting in a well-ventilated area.
Step 7: Master Drying in a Humid Climate
Speed drying is part of the method in Tampa. Direct airflow over damp areas with fans and run the AC to lower indoor humidity. Stand cushions upright or on edge to increase exposure and prevent trapped moisture. The goal is consistent drying across the entire cleaned area to avoid rings and odors. Check progress every 20–30 minutes and adjust fan placement as needed.
Step 8: Groom and Reassemble
After the fabric is completely dry, lightly brush to align the nap and restore a uniform appearance. Replace cushions, smooth seams, and re-stage pillows. Grooming is the finishing touch that turns a good cleaning into a great-looking result, especially on microfiber and velvety synthetics where shading can linger.
Beginner Mistakes to Avoid
Over-wetting is number one—keep liquids light and even. Skipping the pre-test leads to preventable surprises like dye transfer. Scrubbing aggressively can fuzz and distort fibers. Using colored towels risks dye migration. Finally, neglecting drying control invites browning and odor. Treat drying with the same care you give to cleaning.
Simple Tampa-Specific Tips
Plan cleaning sessions when you can supervise for a few hours. If a storm just passed, humidity may be high indoors; run AC for 30–60 minutes before you start and keep it on through drying. After beach trips, add a quick vacuum routine to remove sand before it grinds into seams. Use washable throws on armrests and headrests to intercept sunscreen and sweat. These small habits pay big dividends in a coastal climate.
Stain Playbook for Everyday Life
Pet accidents: blot, apply enzyme, allow dwell, blot again, and dry fast. Coffee or tea: blot, apply a mild acidic spotter, then rinse or wipe lightly if the fabric is water-safe. Grease or makeup: dab with an appropriate solvent spotter for “S” code fabrics or a mild degreasing cleaner for water-safe textiles, then remove residues and dry quickly. If stains return after drying, they likely wicked up from deeper layers; repeat a lighter treatment with better drying and see improvement.
Allergen and Odor Reduction for Healthier Rooms
Upholstery traps invisible pollutants from Tampa’s outdoors. Routine vacuuming and periodic deeper cleaning reduce allergens and pet-related odors. For stubborn smells, remember that odor often lives below the surface; minimal moisture plus targeted products help, but severe cases may need professional tools to reach the cushion core safely. If you want a mid-year reset without trial and error, professional upholstery cleaning offers controlled extraction and fabric-safe deodorizers.
Maintenance Schedule You Can Stick To
Choose consistency over intensity. Vacuum high-use pieces weekly, spot clean promptly, and plan a careful full clean every three to six months. Rotate cushions monthly to balance wear. During high-pollen seasons or when doors stay open, add an extra vacuum pass to capture what’s drifting inside. Small, regular actions keep your furniture looking great without marathon cleaning days.
Frequently Asked Questions
Q: How do I avoid water rings? A: Treat entire panels with minimal, even moisture and dry quickly with directed airflow. If a ring appears, lightly re-wet edge-to-edge, blot evenly, and boost fan power.
Q: Can beginners safely clean “S” code fabrics? A: Yes, with caution. Use an approved solvent cleaner sparingly, ventilate, and blot with dry cloths. If the fabric is valuable or heavily soiled, consult a professional.
Q: What temperature water should I use? A: Warm to cool is safer for most fabrics. Hot water can set certain stains or accelerate dye bleed, especially on natural fibers.
Q: Why does my sofa smell musty after cleaning? A: Slow drying in humid air is usually the culprit. Increase airflow, lower indoor humidity with AC, and avoid over-wetting next time.
Q: Is baking soda a good cleaner? A: It can absorb mild odors but it is not a substitute for proper cleaners. Use it as a supplement, then vacuum thoroughly.
Enjoy Fresher, More Comfortable Furniture
When you’d like a confident result without the learning curve, schedule expert upholstery cleaning and enjoy fast, fabric-safe care tailored to Tampa homes.